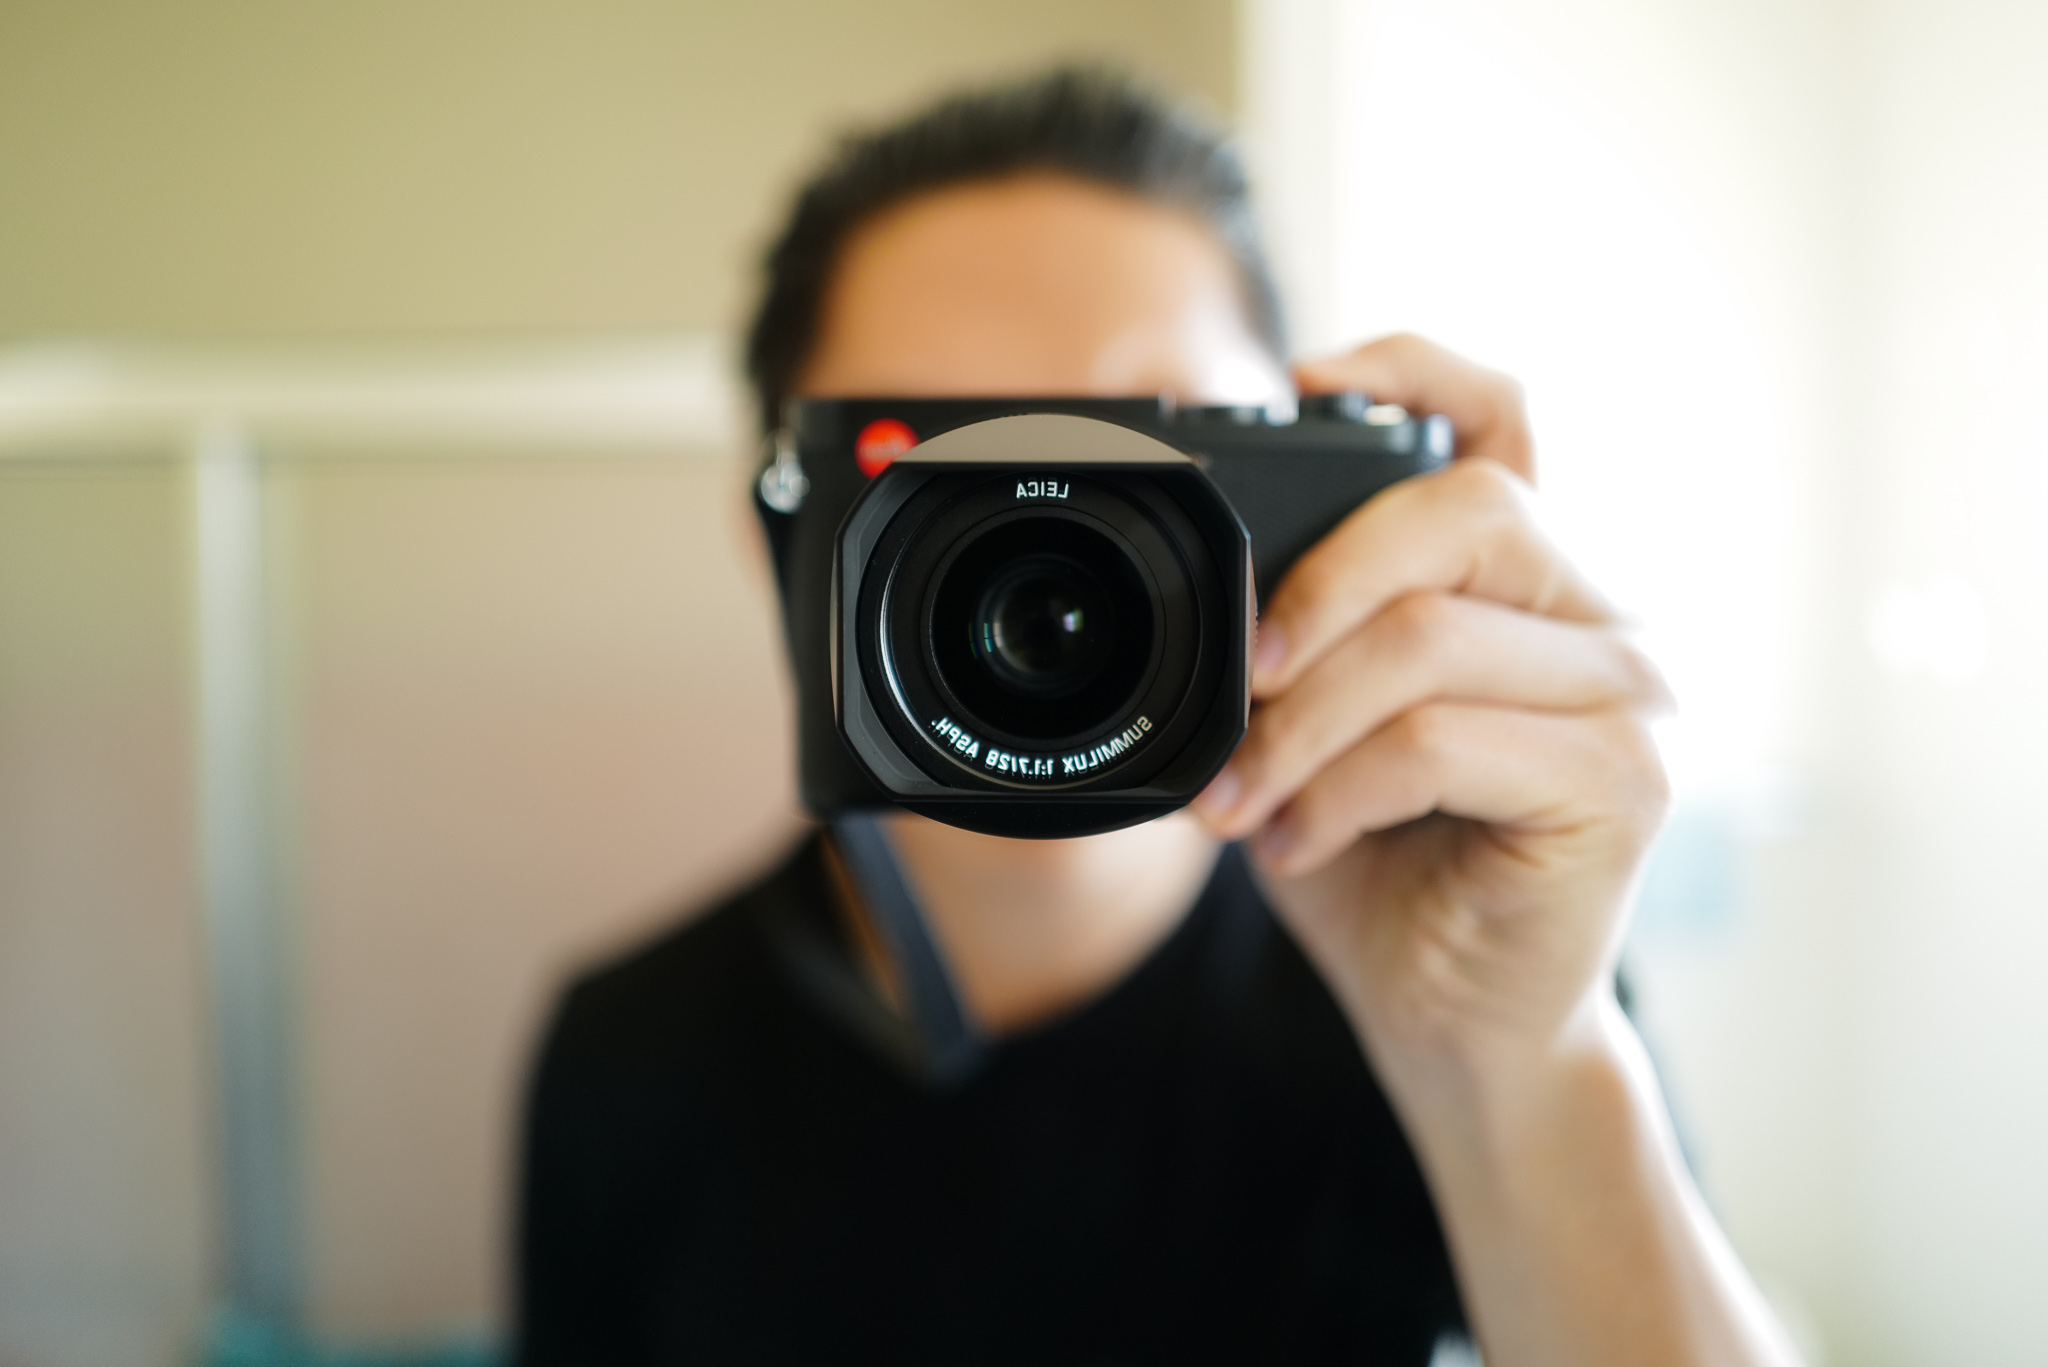
Being ready for your next photographic session should be as simple as picking up your camera kit and walking out the door, but unless the gear is ready, you’re not going to be able to get the results you want as quickly as you need. This is especially true if you spot something happening in your home or garden and you need to record the event straight away. Sometimes there isn’t an opportunity to check over the camera before you start shooting, so how are you going to know if the photos are going to turn out? If you had to pick up your Leica Q camera right now, and you had to aim and press that shutter within
a few seconds...how confident are you that you’ll get that shot?
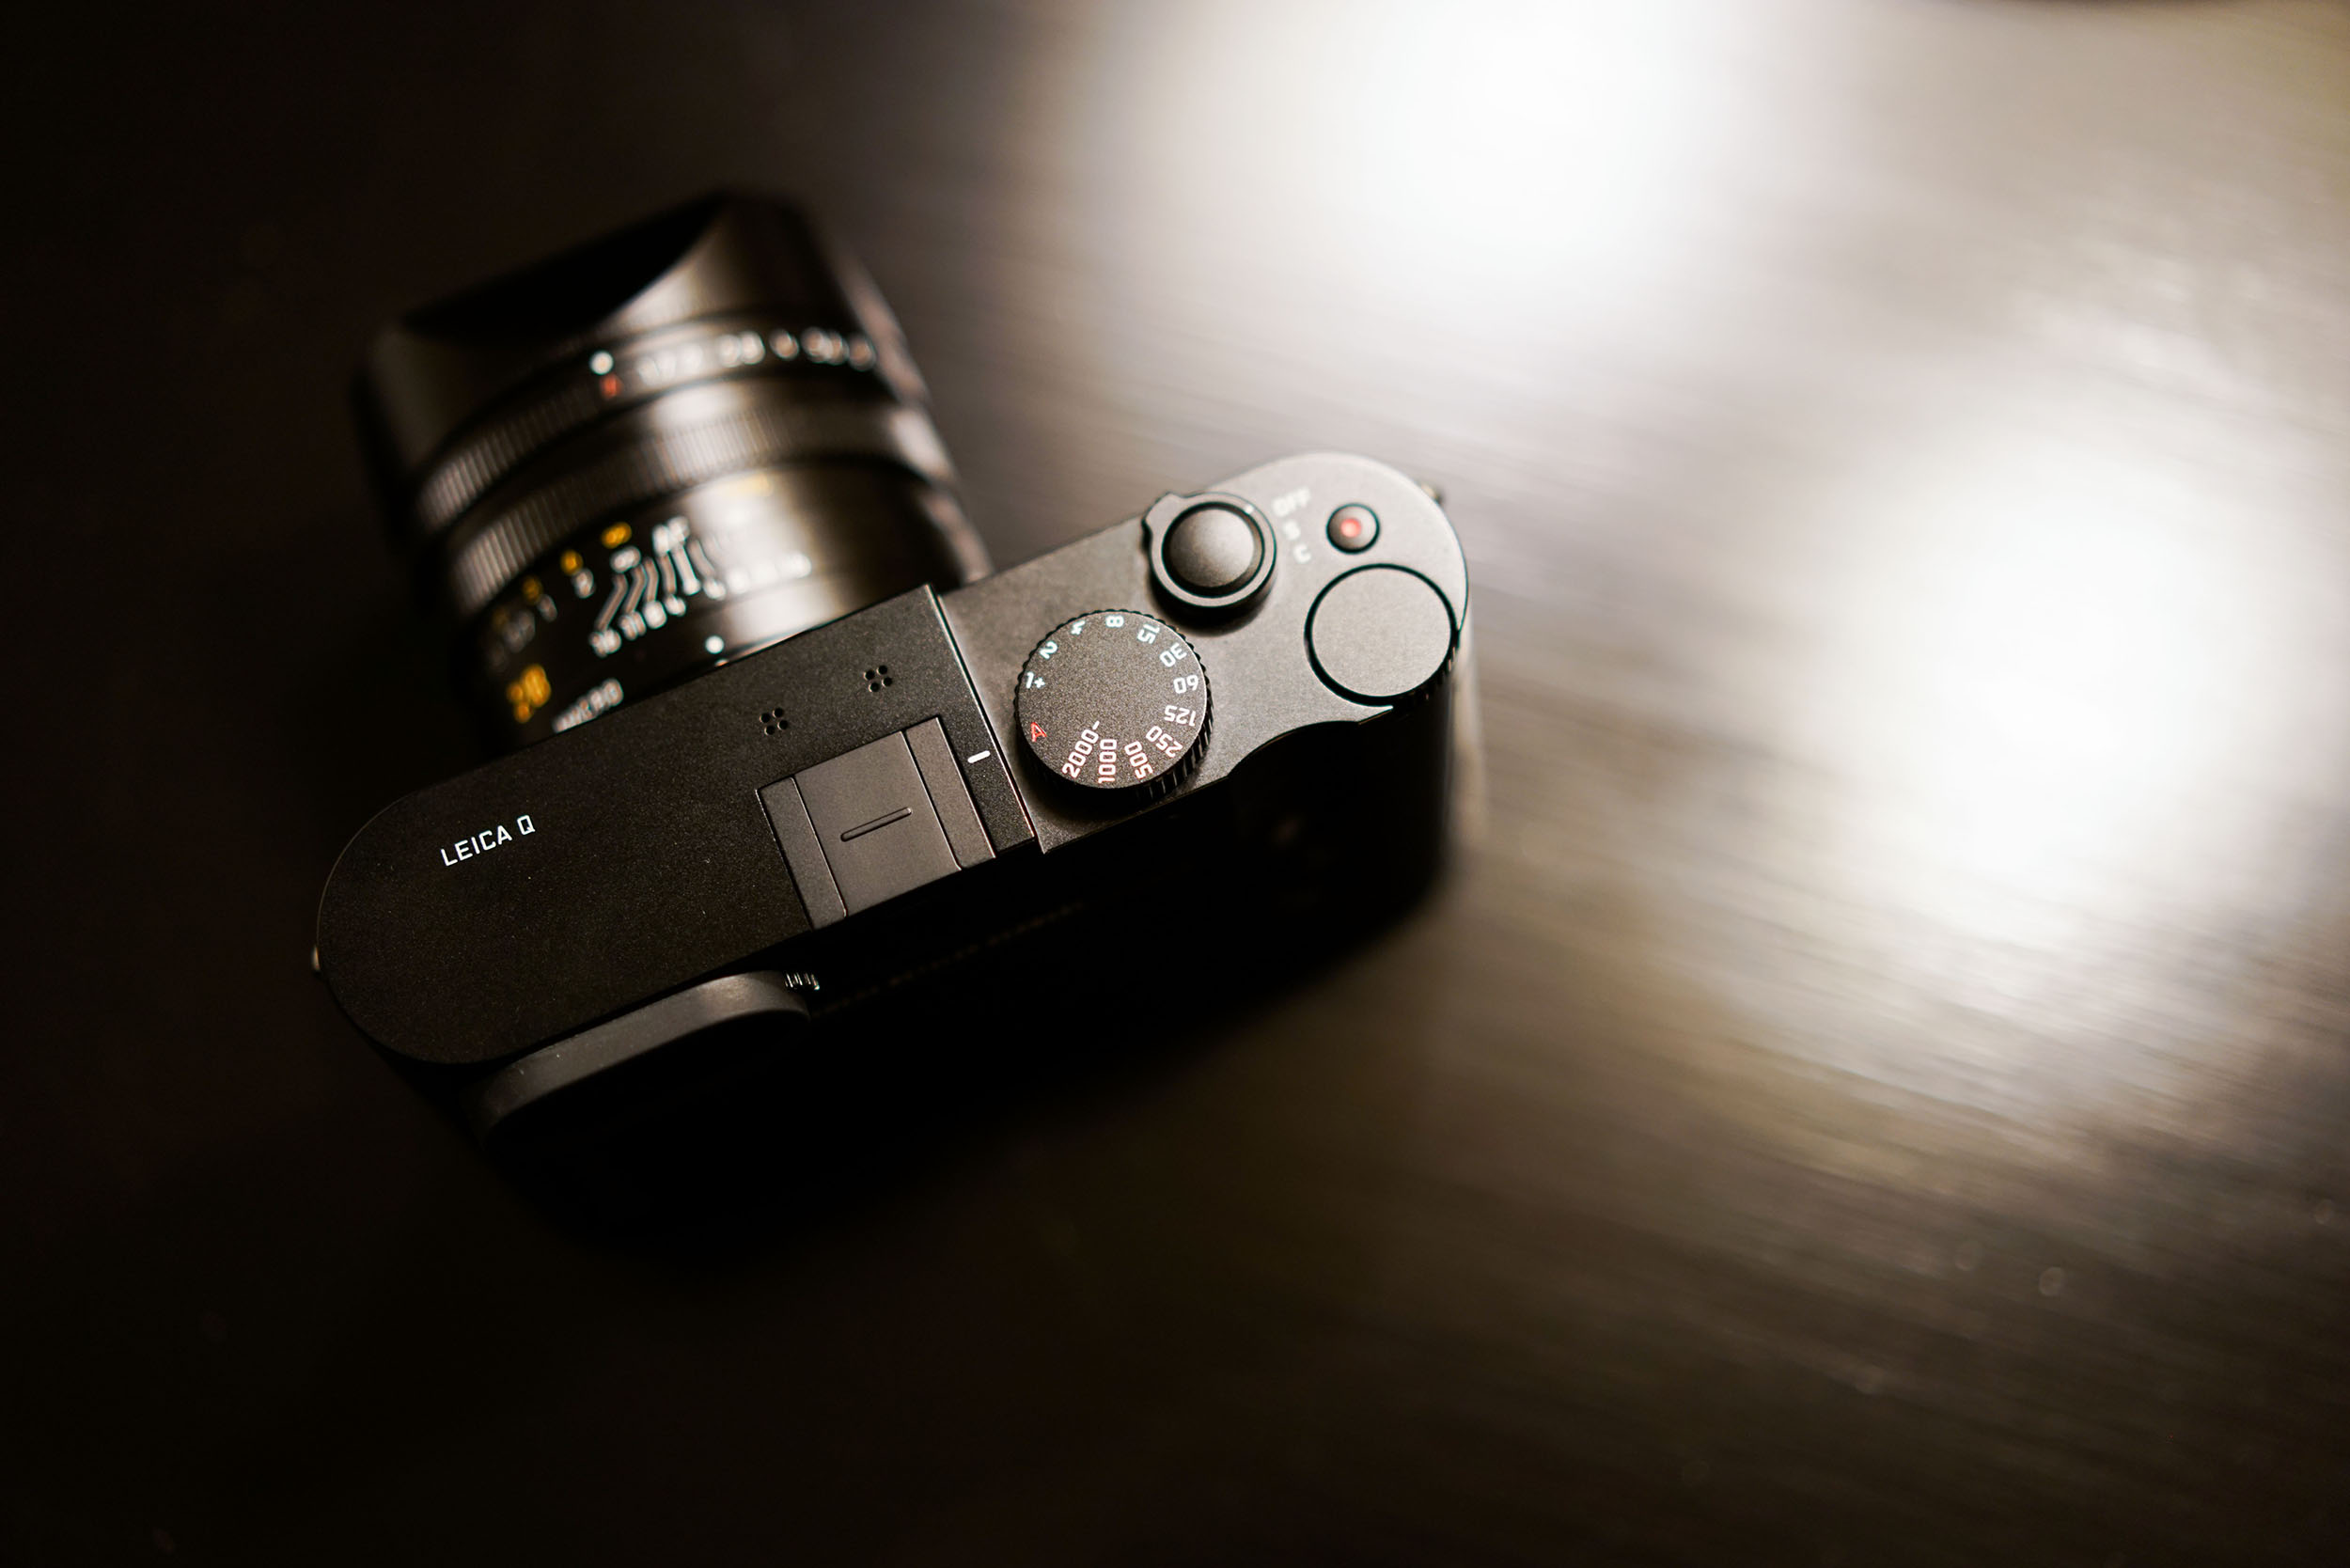
When you last used your camera, if you had to change your settings to cope with an odd lighting situation (perhaps you bumped up the ISO to an extreme setting, or you adjusted the white balance) imagine how terrible the results are going to be if you pick up your camera and start using it before changing things back to ‘normal’ settings. Many people fiddle with camera options and then forget that they’ve changed things. It ends up being a frustrating and annoying situation. To get great photos, and to be prepared for some spur-of-the-moment shooting, have your camera ready before you even pick it up. Here are my top 10 things to check NOW!
1. Have you downloaded the images from your memory card after your last photography
session yet? Don’t discover at the last moment that there isn’t enough room on your
memory card for your next shots. After those images have been backed up on
another device, delete all images from your memory card to give you a fresh start on
your next shoot. And every now and then use the ‘format’ option to completely clear
the card. Formatting the card freshens it, resets it to its original state, and helps to
minimize corruption problems.
2. Cleaning your lens at the end of a day’s photography is another good habit to
establish. It’s amazing how much dust can settle on a lens even if you are not
shooting on location. Avoid hazy photos by gently blowing away dust and wiping
away smudges before you pack away your camera, using our Otect cleaning kit of course!
3. Unless you are always photographing sporting events, set your Leica Q to Aperture
Priority mode. Choose an aperture of around f/8 for a multi-purpose f-stop that gives
a subtle blur to the background on most occasions.
4. Set the camera to Auto-Focus so you can grab the camera and start shooting with
confidence. No matter what situation you are faced with, Auto-Focus will help you
capture that street scene or wildlife shot that might otherwise be missed. If you have
time to adjust the settings while preparing for a photo, then you can switch over to 1
Point Focus and move your focus point around with the four-way controller. This gives
you better control over your focus, especially when doing portraits as you can be
extra-sharp at the subject’s eyes.
5. When you put your camera away, set it to Multi-Field Metering and it will be ready to
shoot in any lighting situation. Although I prefer Spot Metering when I have a specific
subject in mind, Multi-Field Metering takes into consideration the highlights and
shadows and works out a balanced exposure for that scene, which is great when I
need to pick up my camera and snap away regardless of the situation. If your Leica Q camera is mainly used to photograph a lot of different subjects and situations, Multi-
Field Metering is a good starting point.

6. Recharge your camera batteries straight after a shoot — no exceptions! If a
spontaneous opportunity crops up and you need to grab your gear, you don’t want to
run out of battery power. Make sure your spare is charged as well, and rotate the use
of both batteries to keep them active. Your flash’s batteries need to be recharged after
every shoot too. Make sure you replace them with new batteries as soon as you start
to notice a decrease in their ability to hold the charge.
7. Minimizing the amount of time the LCD screen is activated will help you keep the
battery alive for longer. Using the ‘EVF Extended’ setting makes the viewfinder the
primary method for photo composition, but the LCD screen still lights up for viewing
captured images and for navigating the camera’s menus. If you have the LCD set to
‘Auto’, your camera will switch on the viewfinder whenever your eye is close enough
to activate it, but the slight lag between seeing something on EVF and putting your
eye to the viewfinder to get a clearer line of sight on your framing can be enough to
miss a shot.
8. Check the white balance and make sure it’s set to ‘auto’. This setting is best for most
lighting conditions. If you’ve been shooting inside and the area has been lit with
tungsten lights, you’ve probably changed to that setting to overcome the yellow
tones, but unless you switch the white balance back to ‘auto’ before you put away
your camera, you’re going to get an odd, blue color cast in your next photos.
9. Set the exposure compensation to zero. Because it’s sometimes hard to tell how
bright the image really is when looking at the back of the screen, it can be extremely
frustrating to later discover all your shots have been accidentally over-exposed or
under-exposed.
10. In the menu, have a look at the ‘Auto ISO’ area and make some adjustments to the
minimum and maximum settings. When all the dials are set to auto you can set the
minimum ISO at 100 so you can achieve fine grain shots if the light is appropriate —
and the maximum should be around 1600 ISO as this will give you great range, but
you won’t creep into an ISO that’s going to produce too much electronic noise in your
images. While you are there, set the slowest exposure time to 1⁄8 second, which
means you’re not going to get blurred photos, because with the Optical Image
Stabilization on the Leica Q you can hand-hold the camera while shooting at this low
shutter speed and still get sharp results. It’s a good way to reduce ISO noise while
getting a blur-free shot in low light.
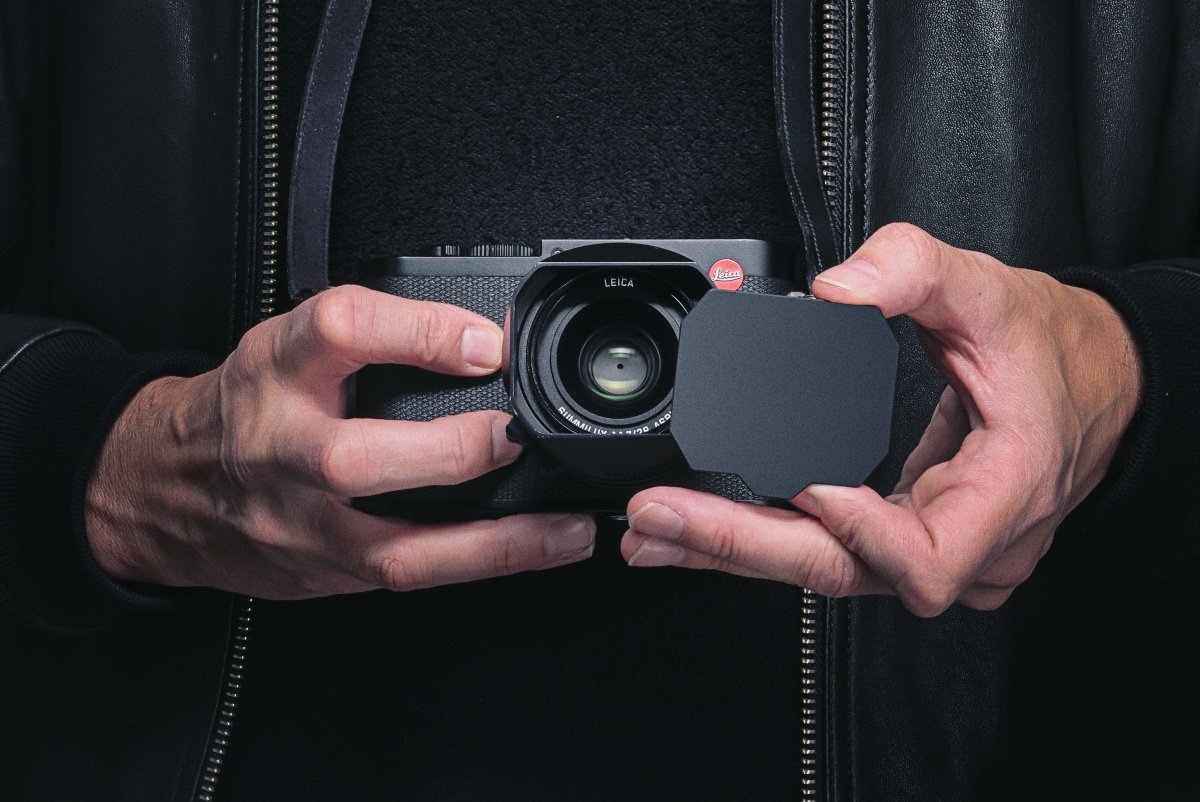
That’s it! Get into the habit of doing this quick post-shoot check of your camera gear before putting it away and you could save a lot of heartache and headaches on your next photographic expedition. Happy snapping!


