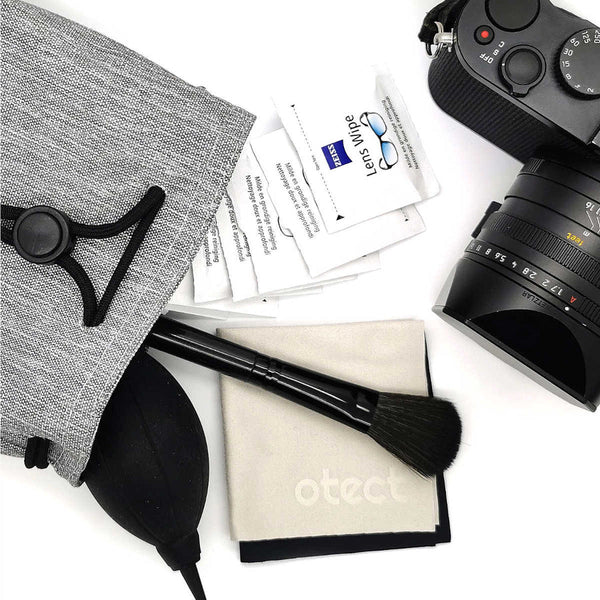
When you invest in a Leica Q camera, you are going to expect great performance for many years to come, but this will only happen if you look after it properly. And since the Leica Q has a fixed lens, you can’t just switch over to another lens and keep shooting if you damage that lovely piece of glass at the front of your camera.
This means protecting the lens becomes your main priority when photographing. Here’s how to do it right…
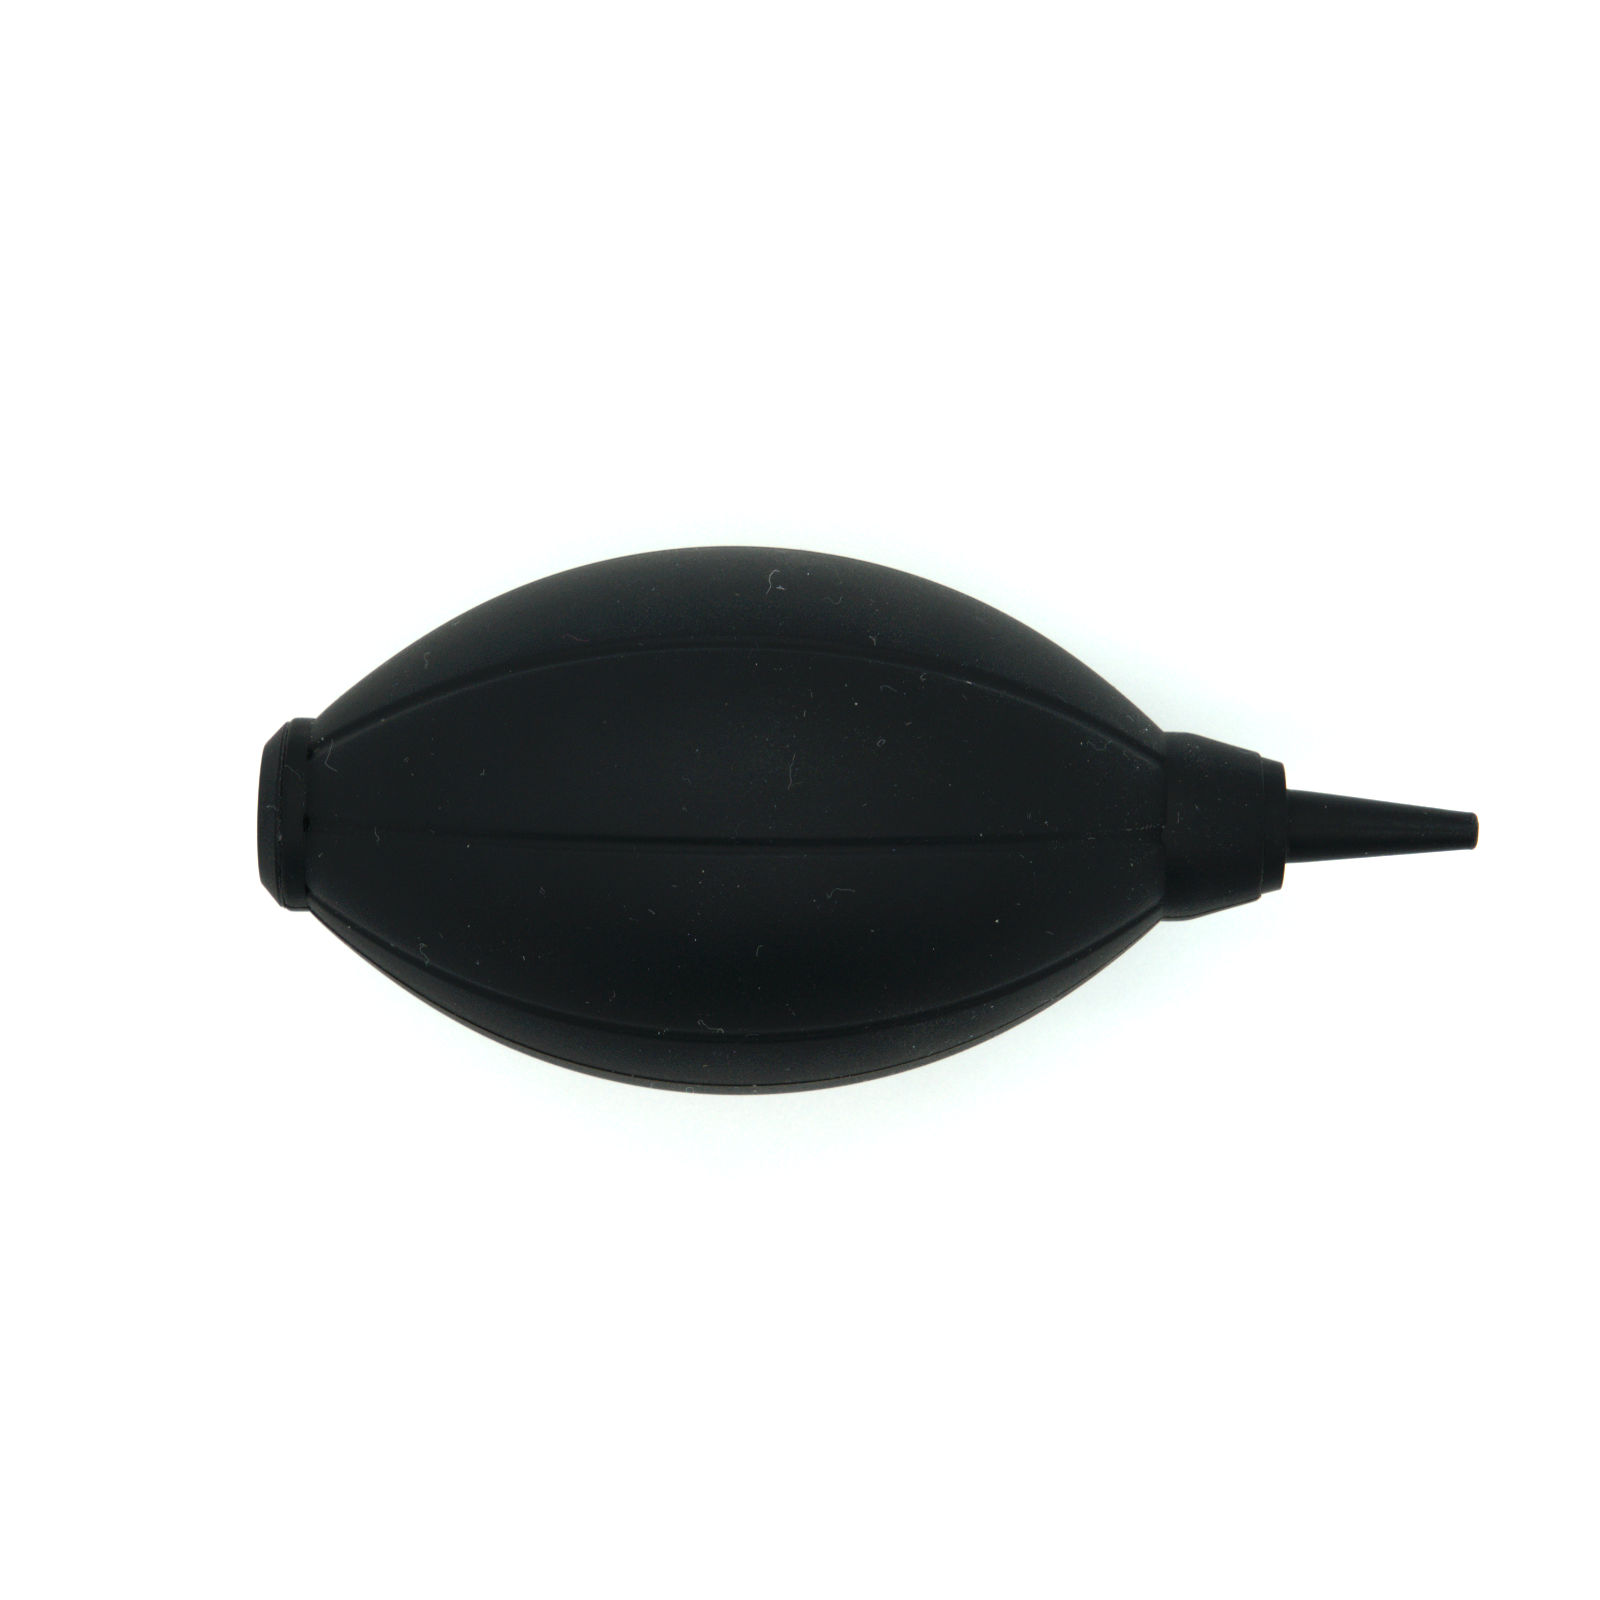
It’s a simple concept…keep dust off the camera lens and you’ll have sharper photos. Regardless of how careful you are, your camera will eventually attract dust, and it needs to be removed with care, otherwise you’re likely to damage your lens. When it comes to cleaning a camera lens, blowing dust away from the surface of the lens with your breath means there’s no physical contact with the front of the glass, so there’s no chance of scratching the lens. However, dust is fairly persistent at staying on glass, so you often need to use a proper lens cleaning blower to deliver a decent blast of air. A silicone air blower will usually remove loose dust from the front of the lens, the filter ring, and the lens grip too. Get in close to blast away loose dust particles, but try not to touch the front of the lens with the blower. If you do happen to lightly brush against the surface of the glass with the blower, don’t panic because the soft silicone tip won’t scratch the lens unless you are rough with it. Manual blowers are better than cans of compressed air because microscopic drops of chemicals in the compressed air could land on the coating of your lens. The extra air pressure from these cans could also move dust particles into the seams between the lens and the filter ring.
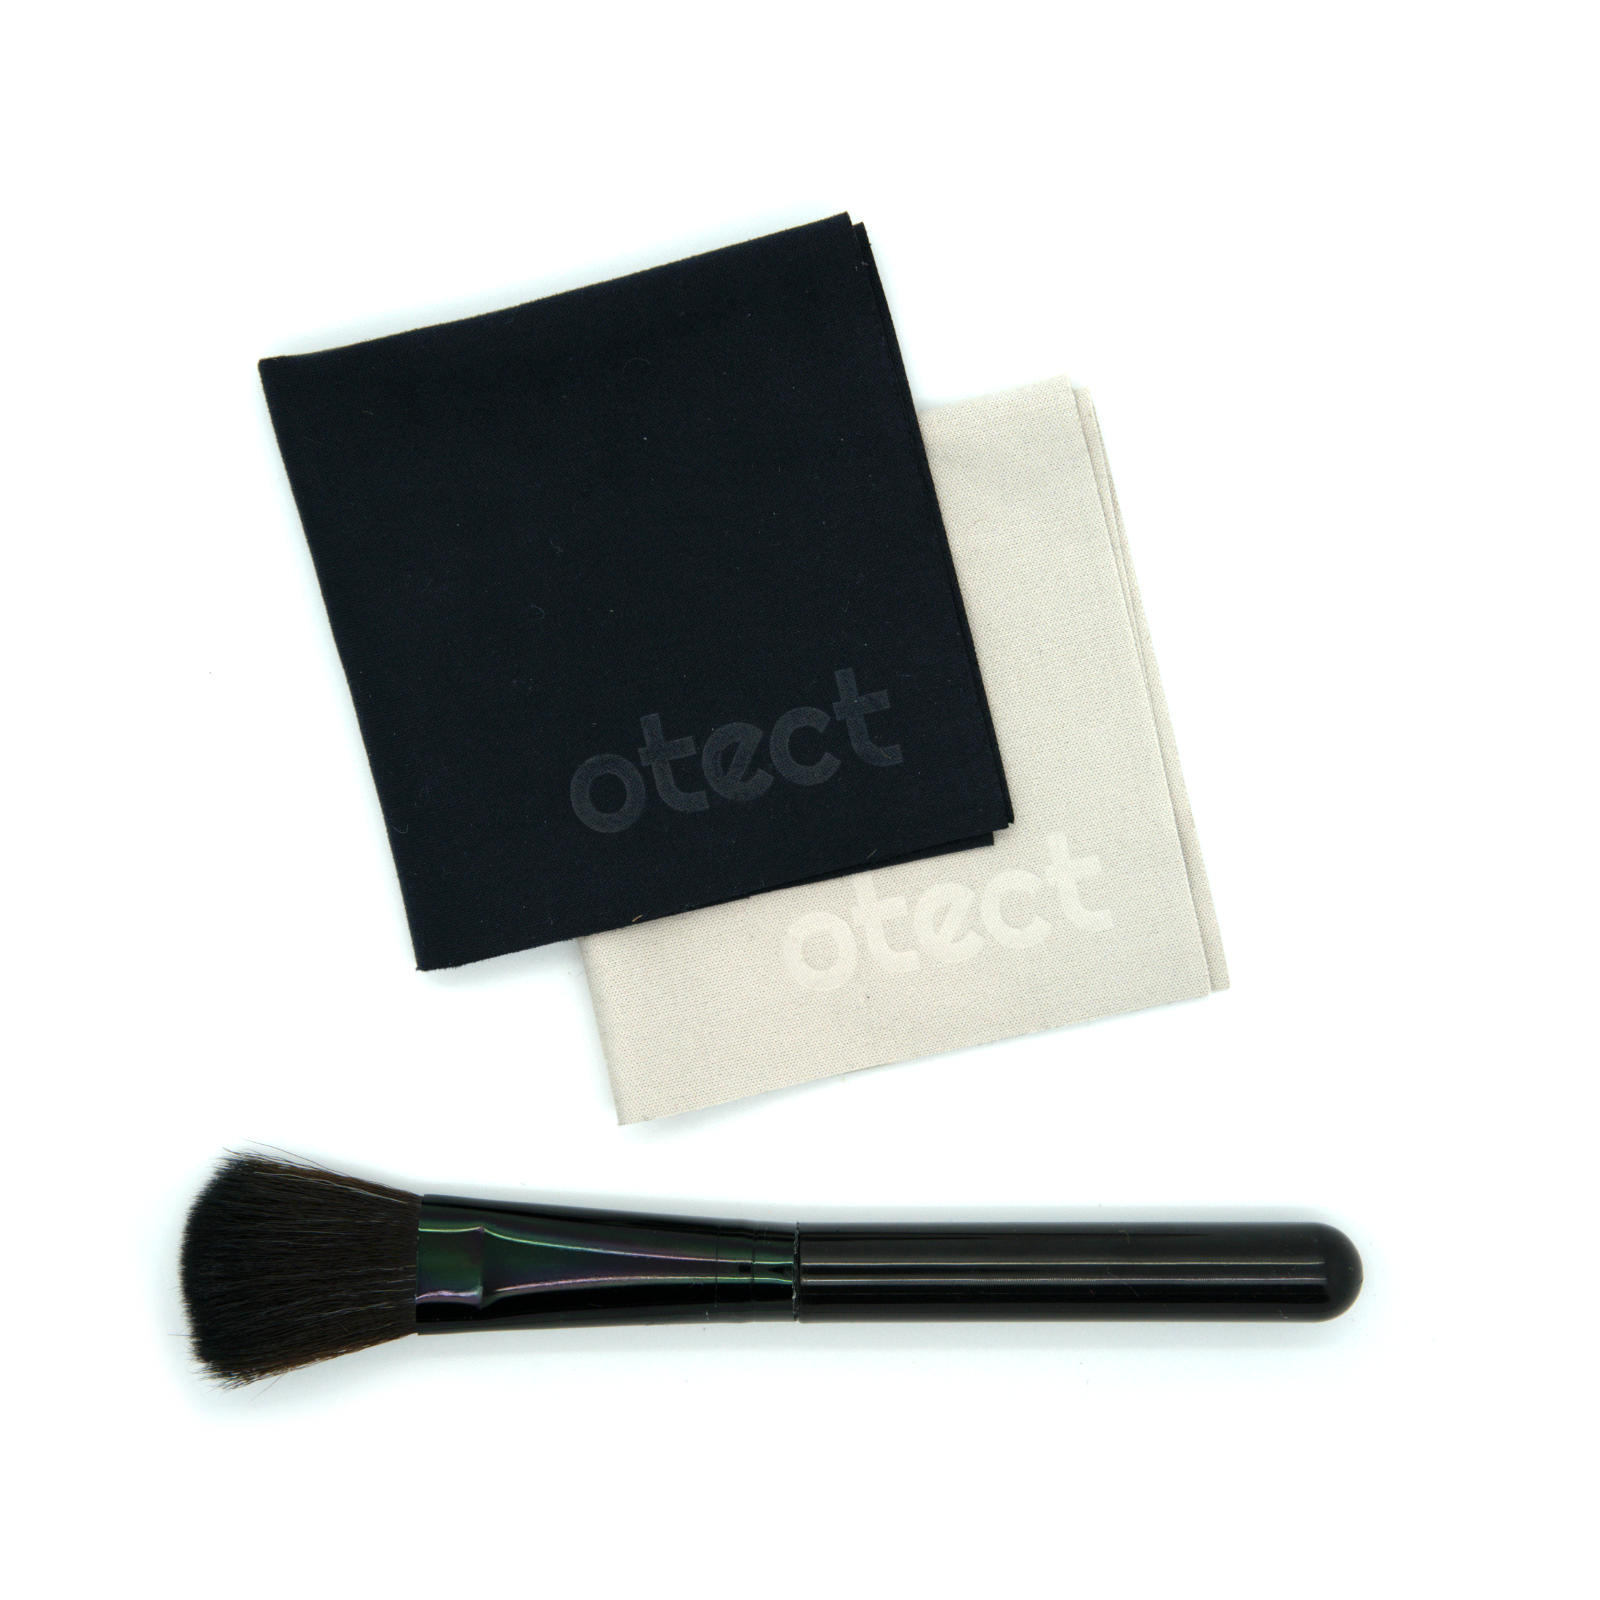
If you’ve been shooting in a dusty environment, sometimes even a sharp squeeze of a silicon blower won’t shift the debris lodged on your lens, so you then have to take your cleaning to the next level with a lens brush. Make sure you use a high quality lens brush made from soft, thin, camel hair which won’t damage the glass. Gently move the brush in a circular motion across the surface of the lens. Make sure you also get the bristles into the edges of the lens where dust likes to settle, then use the blower again to remove the loosened particles.
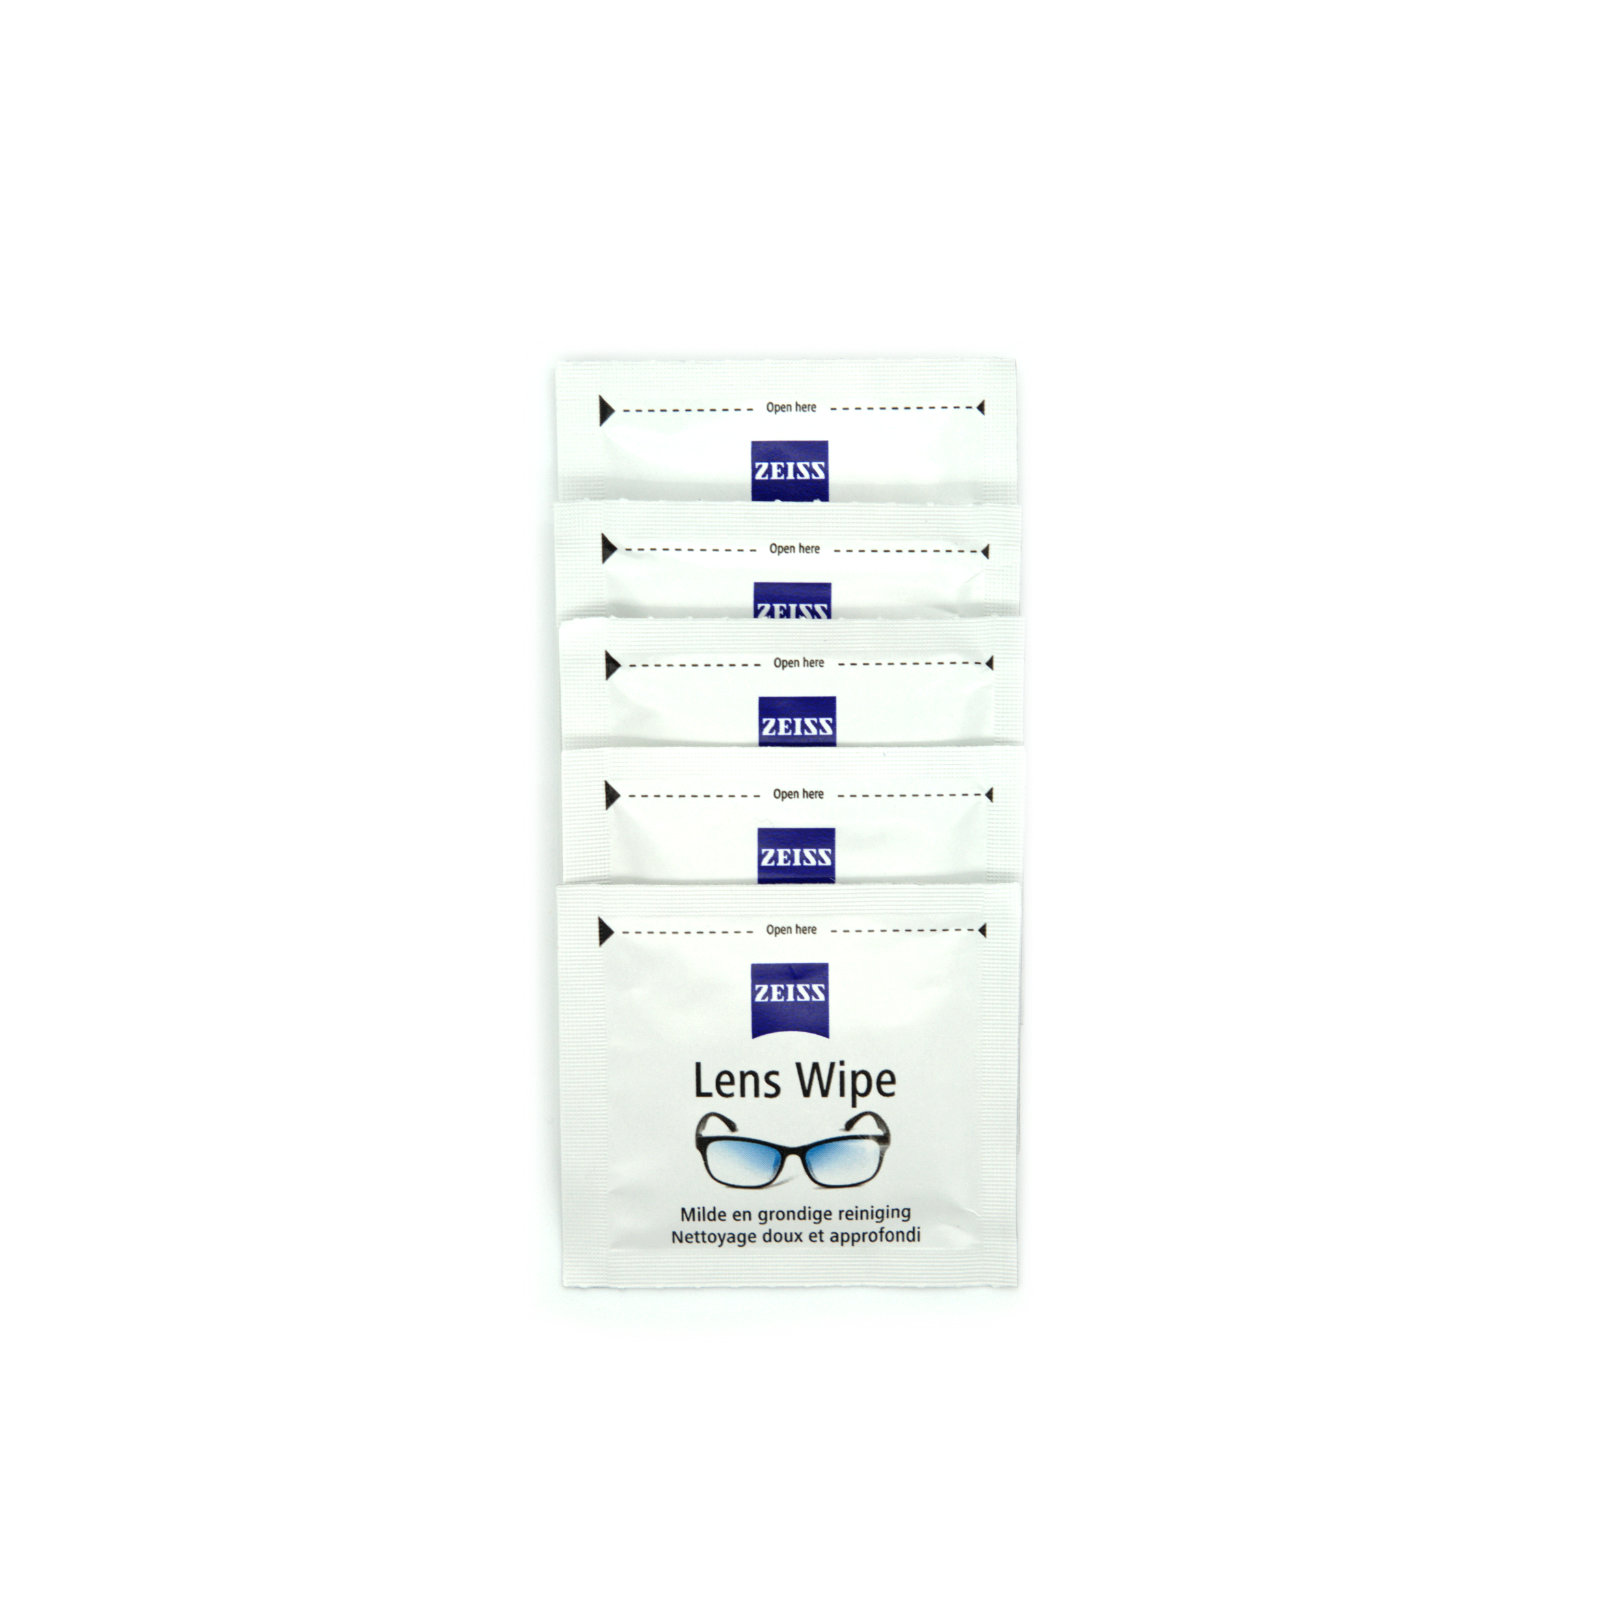
When your lens is free from dust, it’s time to remove fingerprints and streaks. Special lens cleaning wipes are required to shift those problem areas. You could use lens cleaning fluid, but there’s a risk that they will affect the protective coating that is put on the front of the lens by the manufacturer. And if you accidentally drip the fluid into the gap at the edge of the glass, it could leave a light residue within the lens that will be impossible to access. And don’t use a cleaning cloth that you’ve found at the bottom of your camera bag as it may be embedded with small bits of grit. The best way to wipe away smudges is with pre-moistened Zeiss Lens Cleaning Wipes that are conveniently wrapped in individual sachets. They take up minimal space in your camera bag and they leave a crystal clear finish.
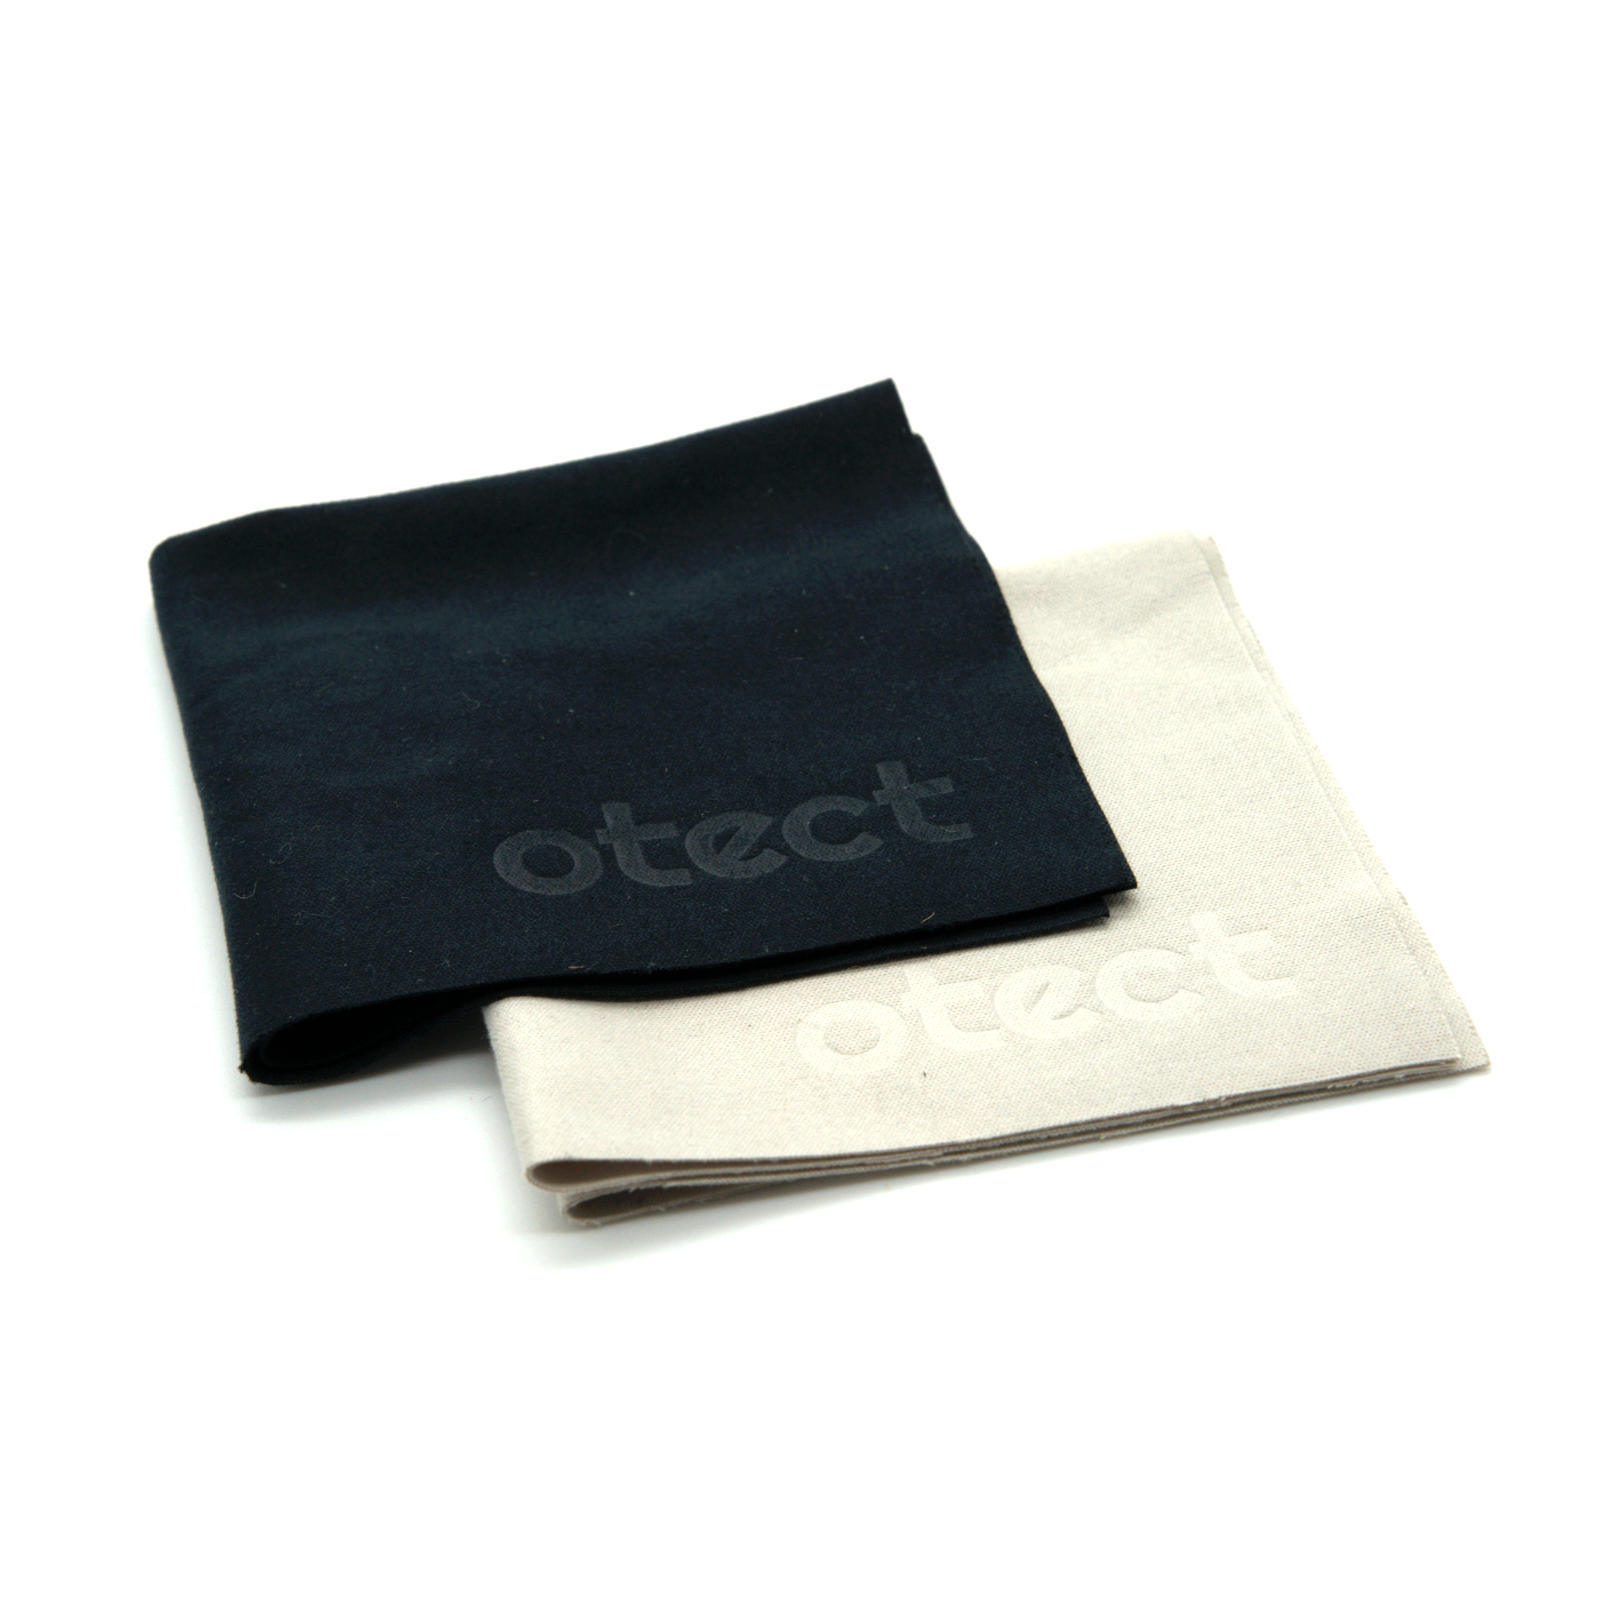
Although Leica claims its Q series have ‘spraywater sealing’ they are certainly not weather-proof, so smart users avoid photographing in the rain. What do you do if you are caught in a sudden downpour? First of all, slip your camera under your rainproof jacket and protect it as much as possible. When you arrive in a dry environment, give the lens and body a gentle wipe using a clean microfiber cloth that has been stored in a sealed, plastic, ziplock bag within your camera cleaning kit. Don’t wipe the lens with too much force though, because if there is any dust on the glass, you could scratch the surface! Some cleaning cloths, such as the Otect microfiber cloths, are specifically designed for camera lenses. This type of specialist cloth has an ultra-fine microfiber weave that is sensationally soft and perfect for use on a Leica Q lens.

This article has discussed how to remove dust and smudges from your Leica Q camera lens, but whenever possible, if you can avoid getting grit and marks on your lens in the first place you are going to be much better off. The most obvious way to keep your lens clean is to make sure you replace your lens cap when you are not actively shooting. This used to be a fiddly process, but the Q-CAP for Leica Q, Q-P, Q2 and Q2 Monochrom cameras is designed for quick removal, and it’s easy to slip it back on again afterwards. Its velour lining means that it grips onto the inner surface of the Leica Q/Q-P/Q2 sun shade with just the right amount of friction to hold it securely in place. But when you want to remove it you can do so quite easily. It has a discrete, stealthy look which blends in beautifully with the aesthetics of your Leica Q camera. And if you do happen to drop the Q-CAP in your haste to capture a once-in-a-lifetime shot, the aerospace-grade aluminium and hard anodised material that it is made from will keep it looking as good as new. The snug fit and clean looks of the Q-CAP was designed to offer superb protection for your lens, but it does more than that—it’s a camera accessory for those who appreciate superb quality.
Conclusion
Whether you are a professional photographer or simply a keen enthusiast, keeping your lens clean is one of the best ways to make sure your Leica Q camera continues to create sharp and clear images. You can find our cleaning kit and Q-Cap in the shop. Be sure to check out our bundle offer of €10 off your cleaning kit when you buy together with a Q-Cap. That way, you're getting the protection from the lens cap and the cleaning kit to keep it all looking smart.
Happy shooting!